Seven Wheelchair-Accessible Mount Rainier Views
Jackson Visitor Center, Kautz Creek, Mount Rainier, national park, railway, Reflection Lake, Sunrise, view, Washington

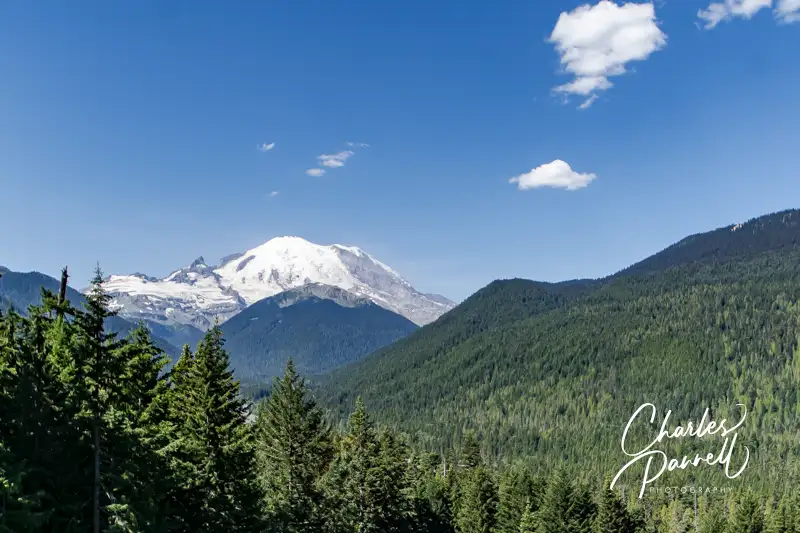
Located in Northwest Washington, Mount Rainier towers 14,410 feet over the surrounding alpine meadows. And when the “mountain is out” it’s visible from as far away as Seattle, Portland and even Vancouver. That said, there’s nothing like a close look at this active volcano, which can be had from Mount Rainier National Park , as well as aboard a local rail excursion. Although it’s only possible to access these sites in the summer season, due to snow and road closures; they are definitely worth a visit. So take some time to to check out these wheelchair-accessible Mount Rainier views on your next Washington national park road trip.
Kautz Creek Boardwalk
Located about three miles east of the Nisqually Entrance to Mount Rainier National Park, the Kautz Creek Boardwalk is one of the newest accessible trails in the park. There’s accessible parking near the picnic area, with level access to the .1-mile boardwalk across the street. The boardwalk leads through a section of forest that’s still recovering from a 1947 glacier generated debris flow, and it ends in a crushed granite viewing area with a few benches. And on a clear day, you just can’t beat the Mount Rainier view from there.
Henry M. Jackson Visitor Center

Next up on our list of wheelchair-accessible Mount Rainier views is the Henry M. Jackson Visitor Center, which is located about 14 miles up the road in Paradise. This area of the park was named by an early settler who reportedly exclaimed “Oh, what a paradise!” when she first saw it. And it’s a fitting description. There’s accessible parking in front of the building, with barrier-free access to all areas of the visitor center. The visitor center offers a 360-degree panoramic view of the area, but you’ll also get a great Mount Rainier view if you just step out the back door. And if you hit this stop at the right time in the summer, you’ll also be treated to a nice view of the wildflower-filled meadows.
Reflection Lake Pullout
The next stop is about 3.5 miles up the road at the Reflection Lake Pullout. Although the lake is on the left side, the most accessible viewpoint is located on the right. The small parking area includes an accessible parking place with curb-cut access out to the viewpoint. And you just can’t beat the stunning reflection of Mount Rainer in the water. This is also a great stop for folks who have trouble walking, as you can get a nice windshield view from the pullout.
Sunrise Visitor Center

The highest point in Mount Rainier National Park which can be reached by vehicle is located in Sunrise, about 60 miles northeast of the Nisqually Entrance. And it just makes sense that you’ll get a good mountain view from this 6,400 foot vantage point. Although the front entrance to the Sunrise Visitor Center has steps, there’s an accessible side entrance. There are a number of interpretive exhibits inside, but the main attraction is the view. You’ll get an absolutely jaw-dropping glimpse of the mountain from the spotting scope on the far side of the room. It’s definitely worth the drive! Plan ahead though, as the visitor center is generally only open from July through mid-September, as the road closes after the first substantial snowfall.
White Pass Scenic Byway
This scenic route, which is also known as Highway 12, is located south of Mount Rainier National Park. It runs from Naches in the east to Interstate 5 in the west. The shady lane is relatively uncrowded and there are several places to stop along the way for views of the forest and river. That said, there’s a killer Mount Rainier view at the pullout near mile marker 147.6. This is an undeveloped viewpoint with no striped parking and a gravel parking lot; however you can still get an excellent view of the mountain from your car. Additionally, if there’s room you can always parallel park next to the viewpoint and lower your ramp on the sidewalk. There are a few interpretive plaques there, but the real star of the show is Mount Rainier. And if you want to connect to the park, just take Highway 123, which goes up to the Ohanapecosh.
Highway 410
This viewpoint is nestled away on Highway 410 south of Snoquera, shortly after you enter Mount Rainier National Park. It can easily sneak up on you, so be on the lookout for it as you see fewer and fewer trees on the west side of the road. The small turnout is located between mileage markers 63 and 64. There’s no paved parking, but you can park parallel in the wide turnout near the viewpoint. The parking area is mostly gravel, but you can still get a good view from inside your vehicle. If you don’t stop, then at least slow down to admire the impressive mountain view. And if you miss it, no worries, as there’s no shortage of Mount Rainier views as your continue south. Just keep your eyes open.
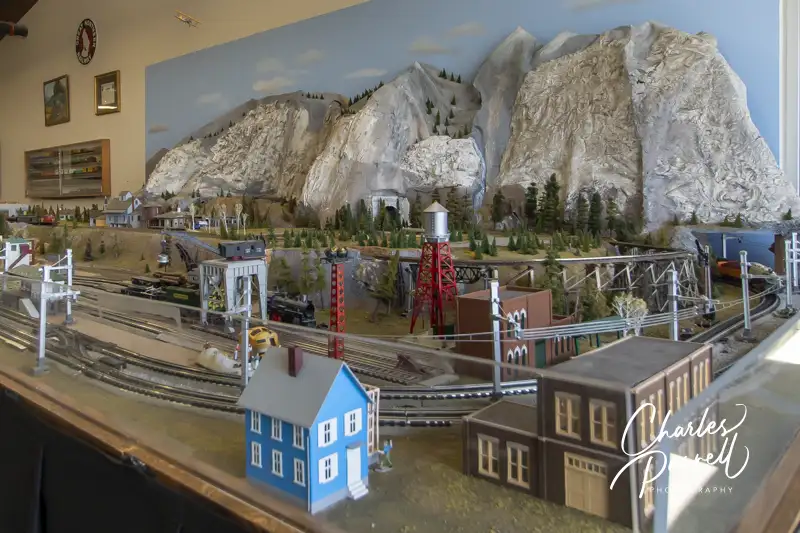
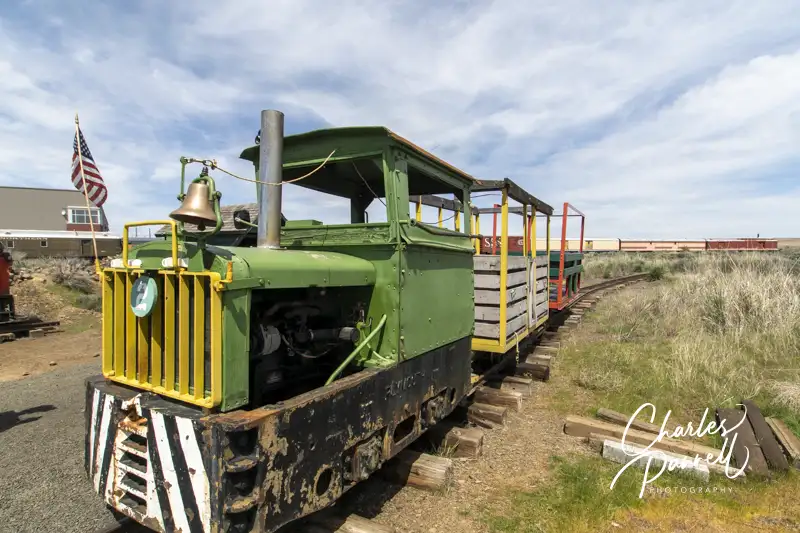
Mt. Rainier Scenic Railroad

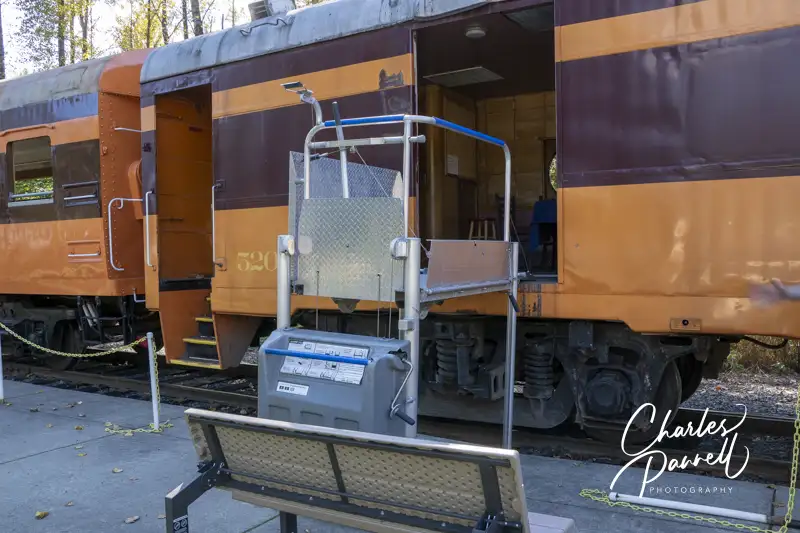
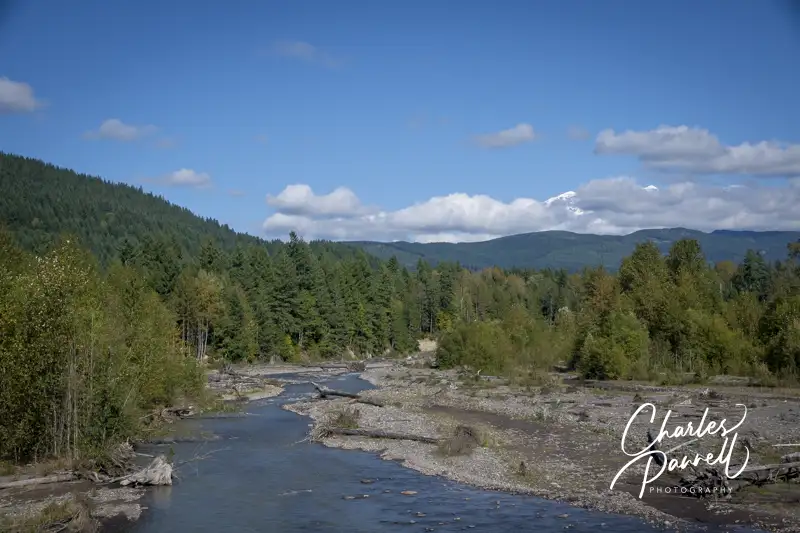
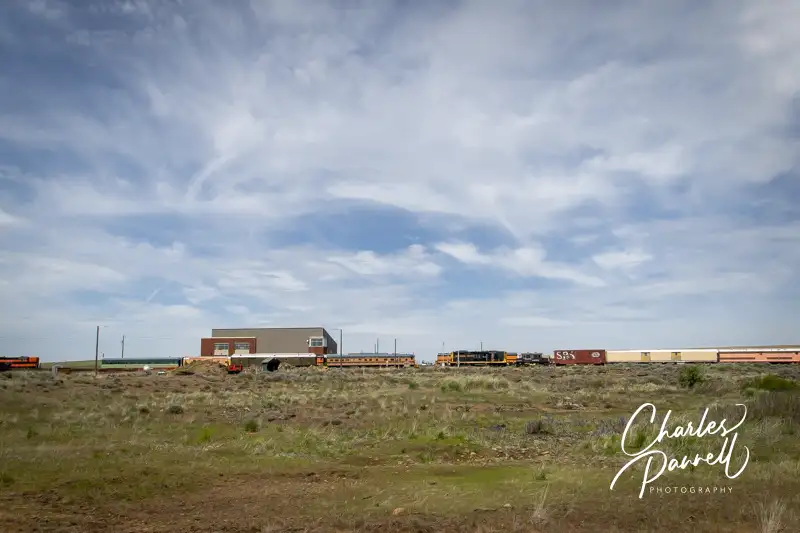
Last but not least on our list of wheelchair-accessible Mount Rainier views, is the impressive vista that can be seen aboard the Mt. Rainier Scenic Railroad (mtrainierrailroad.com). This seasonal train excursion departs from the Elbe depot, which is just 15 minutes from the Nisqually Entrance. There’s accessible parking near the depot, with barrier-free access to the building. Accessible restrooms are located next door, and there are plenty of accessible pathways around the outside depot area, and lift access to the train. This scenic excursion travels along the Nisqually River and offers no shortage of photo worthy views. And there’s an announcement right before you round the corner for that iconic Mount Rainier view. It’s a great excursion to add to any Mount Rainier visit.
Barrier-Free Travel
Washington National Parks
for Wheelers and Slow Walkers

 101 N. Pearl Street